
This post is part of “Progressive Delivery” series.
- Introduction to Progressive Delivery
- Practical Progressive Delivery with Argo Rollouts - Setup
- Practical Progressive Delivery with Argo Rollouts - BlueGreen (this post)
- Practical Progressive Delivery with Argo Rollouts - Canary
- Practical Progressive Delivery with Argo Rollouts - Auto rollback with metrics
Table of Contents:
Background
This post, I will show you how to perform a simple Progressive Delivery, BlueGreen deployment, using Argo Rollouts.
Prerequisite
- A Kubernetes cluster and client cli tools (Follow this post)
- Argo Rollouts installed (Follow this post)
- Make sure that you clone this repository (if not done already) into your computer.
git clone https://github.com/pongsatt/k3s-argo-rollouts.git
cd k3s-argo-rollouts
Simple BlueGreen deployment
This demo will show you how to deploy using BlueGreen strategy. The steps are.
- Deploy a Blue version (Active version = Blue)
- Deploy a Green version along side the Blue version (Preview version = Green)
- Switch the main application to the Green version (Active version = Green)
1. Deploy a Blue version
Install a demo rollout with an active Blue version.
kubectl apply -f ./blue-green-rollouts-demo
Note. This command will install.
- rollout.yaml. A rollout resource named “blue-green-rollouts-demo” which will install image “argoproj/rollouts-demo:blue” to the cluster.
- service.yaml. A Kubernetes service that will route the traffic to the active version.
- service-preview.yaml. A Kubernetes service that will route the traffic to the preview version.
- ingress.yaml. A NGINX ingress that we will use to access the active version application from outside the cluster.
- ingress-preview.yaml. A NGINX ingress that we can use to access the preview service version from outside the cluster.
Run this command to start Argo Rollouts dashboard.
kubectl argo rollouts dashboard
Open http://localhost:3100 to see the dashboard.
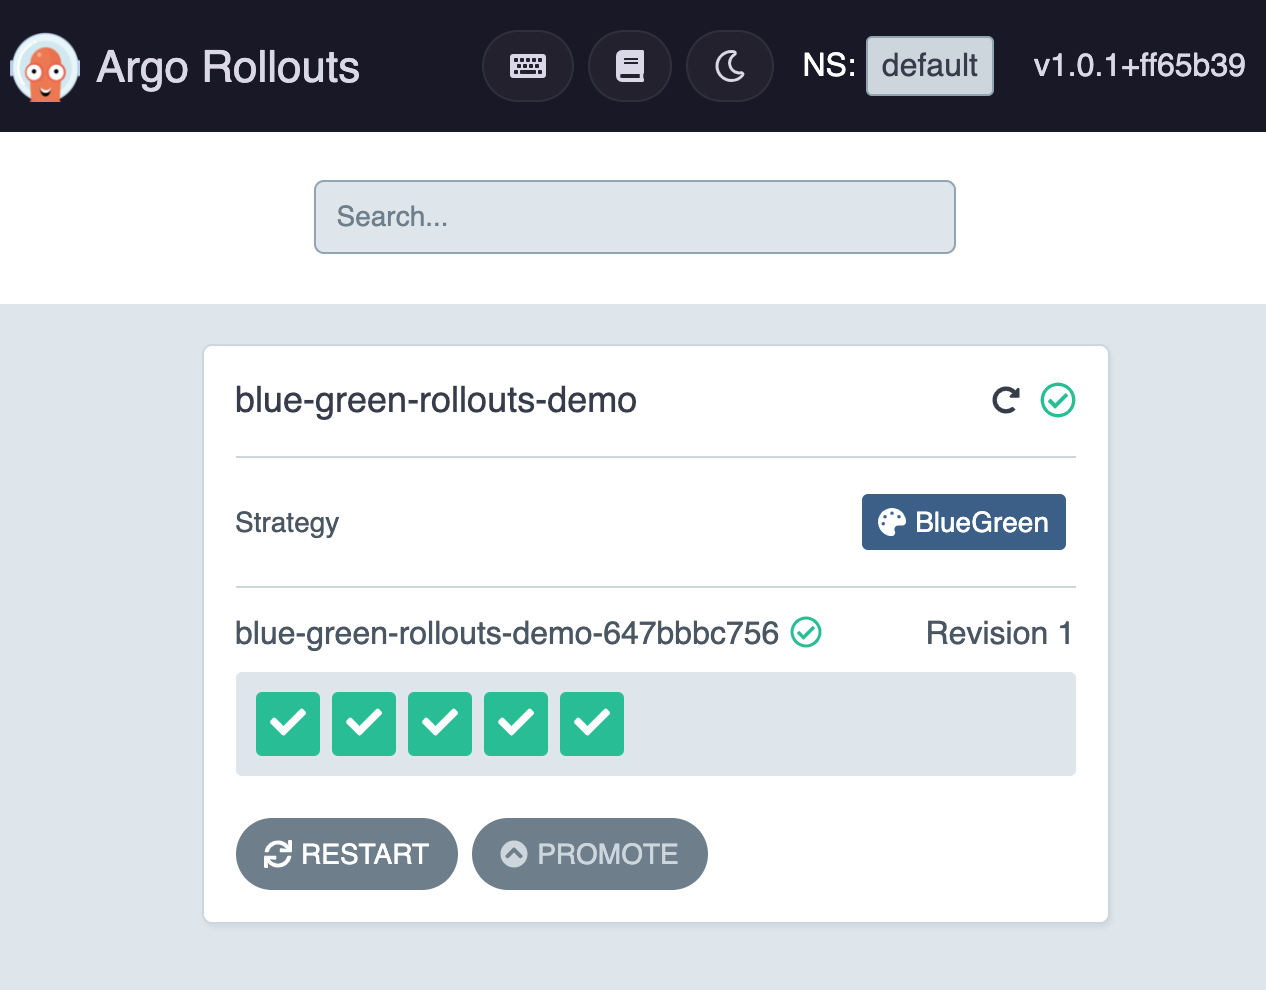 Dashboard UI the demo application started successfully
Open url http://blue-green-rollouts-demo.192.168.1.61.nip.io to see “blue-green-rollouts-demo” and you should see.
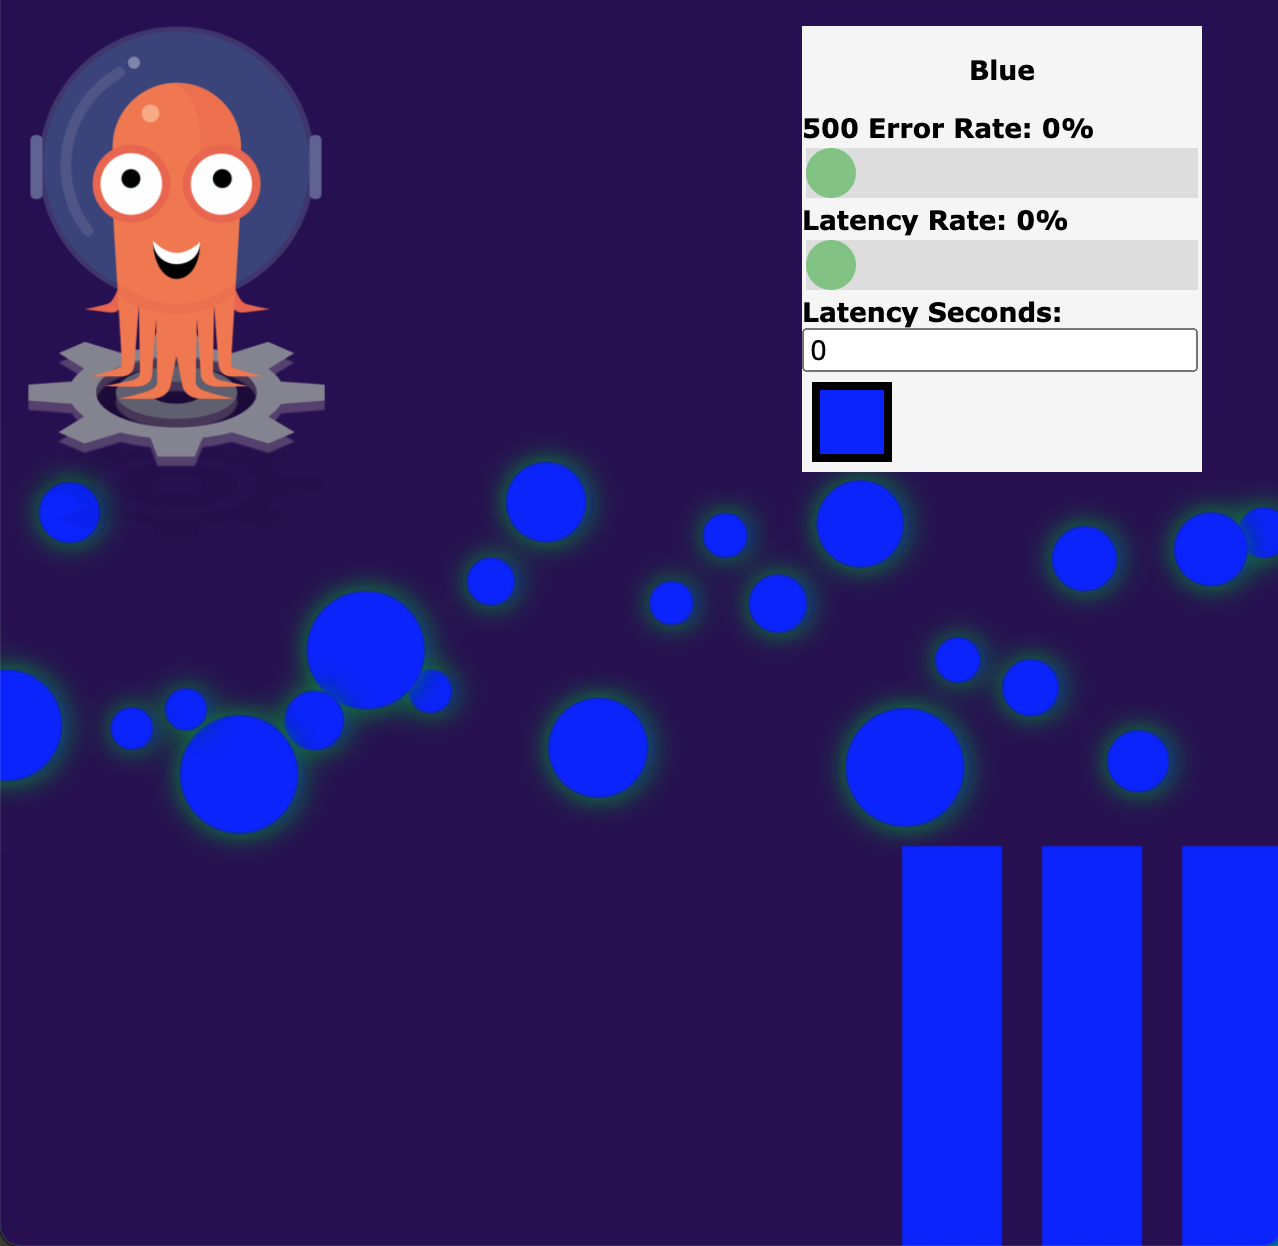 Argo Rollouts Demo Application showing “blue” version
Note.
“192.168.1.61” is the Kubernetes master node IP address (if you create the cluster following this post). Any node IP address will work.
2. Deploy a Green version
We will update rollout.yaml to use the Green version. With BlueGreen strategy, Blue version will still be active and Green version will be a preview version that we can access using another preview service and ingress.
Next, update ./blue-green-rollouts-demo/rollout.yaml to use Green version.
...
    spec:
      containers:
      - name: blue-green-rollouts-demo
        image: argoproj/rollouts-demo:green
...
Then, re-deploy the application again.
kubectl apply -f ./blue-green-rollouts-demo
Open http://blue-green-rollouts-demo-preview.192.168.1.61.nip.io to sett the Green version.
Now, both versions are active and the dashboard will show that both versions are deployed.
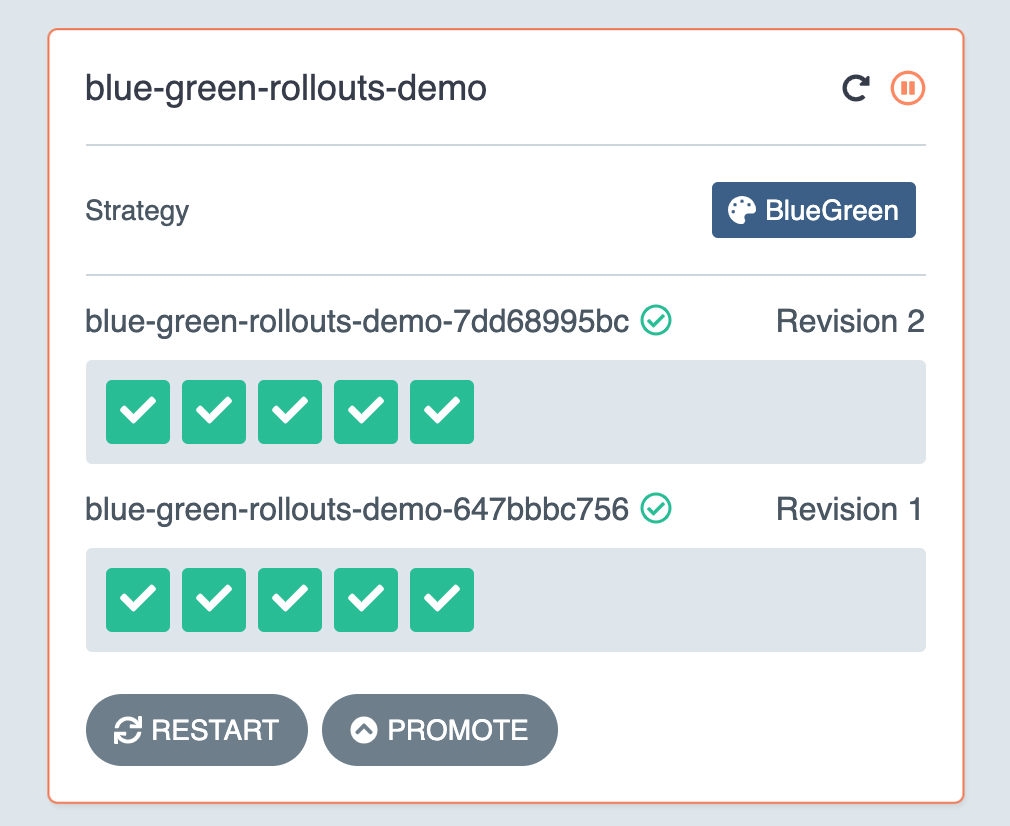 Dashboard show status of both versions
3. Switch the active version to the Green version
Next, we will switch the application main version to the Green one, and then, user will be able to see the new version.
On the dashboard, click “Promote” button and click confirm. When the process is done, open the active URL http://blue-green-rollouts-demo.192.168.1.61.nip.io.
Now, the previously Blue version has become the Green version.
 Previously blue url shows green version
Conclusion
In this post, you learn how to perform BlueGreen deployment. With this strategy, you can test the new version in production before releasing to the user. Using Argo Rollouts helps simplify the process significantly. Next, I will show you how to do the Canary deployment.